Self-made powerful computer for photo/video editing:
In addition, my goal was to achieve almost silent operation at cool operating temperatures, even at maximum power.
I therefore decided to house a system with two-circuit water cooling in a housing with optimal ventilation options.
The right case for the computer:
Beim Gehäuse habe ich mich für ein Thermaltake „The Tower 500“ entschieden. Das Gehäuse bietet ausreichend Platz um je einen 280mm Radiator für CPU und GPU zu verbauen. Zudem ist die Belüftung auf Grund des turmartigen Erscheinungsbildes hervorragend. Von unten wird das System mit kühler Frischluft versorgt, die nach oben entweichen kann.
I also installed the front panel with LCD-Panel for displaying the date and time, which is available as an accessory.
The Power Supply:
Als Netzteil wählte ich für das System ein Thermaltake „Toughpower GF3„. Diese Serie unterstützt bereits die neuen Grafikkarten der PCI-e 5.0 Generation.
Die dem Netzteil beiliegenden Standardkabel habe ich durch „sleeved cables“ ersetzt und auf die benötigte Länge angepasst. Dies sorgte für weniger überlange Kabel und zudem für einen hochwertigeren Eindruck.
The mainboard for the computer:
Beim Mainboard habe ich mich für ein AsRock „X299E-ITX/ac“ entschieden. Das Bord ist im kleinen ITX-Formfaktor gehalten, bietet enormes Potenzial und ist für die vorgesehene Wasserkühlung bestens geeignet.
The Bitspower company offers two different heat sinks specifically for this mainboard.
The mainboard supports Intel processors with LGA 2066 socket. It has four slots for RAM and one slot for graphics cards.
In addition, up to three Ultra M.2 SSD hard drives can be attached directly to the mainboard.
The CPU:
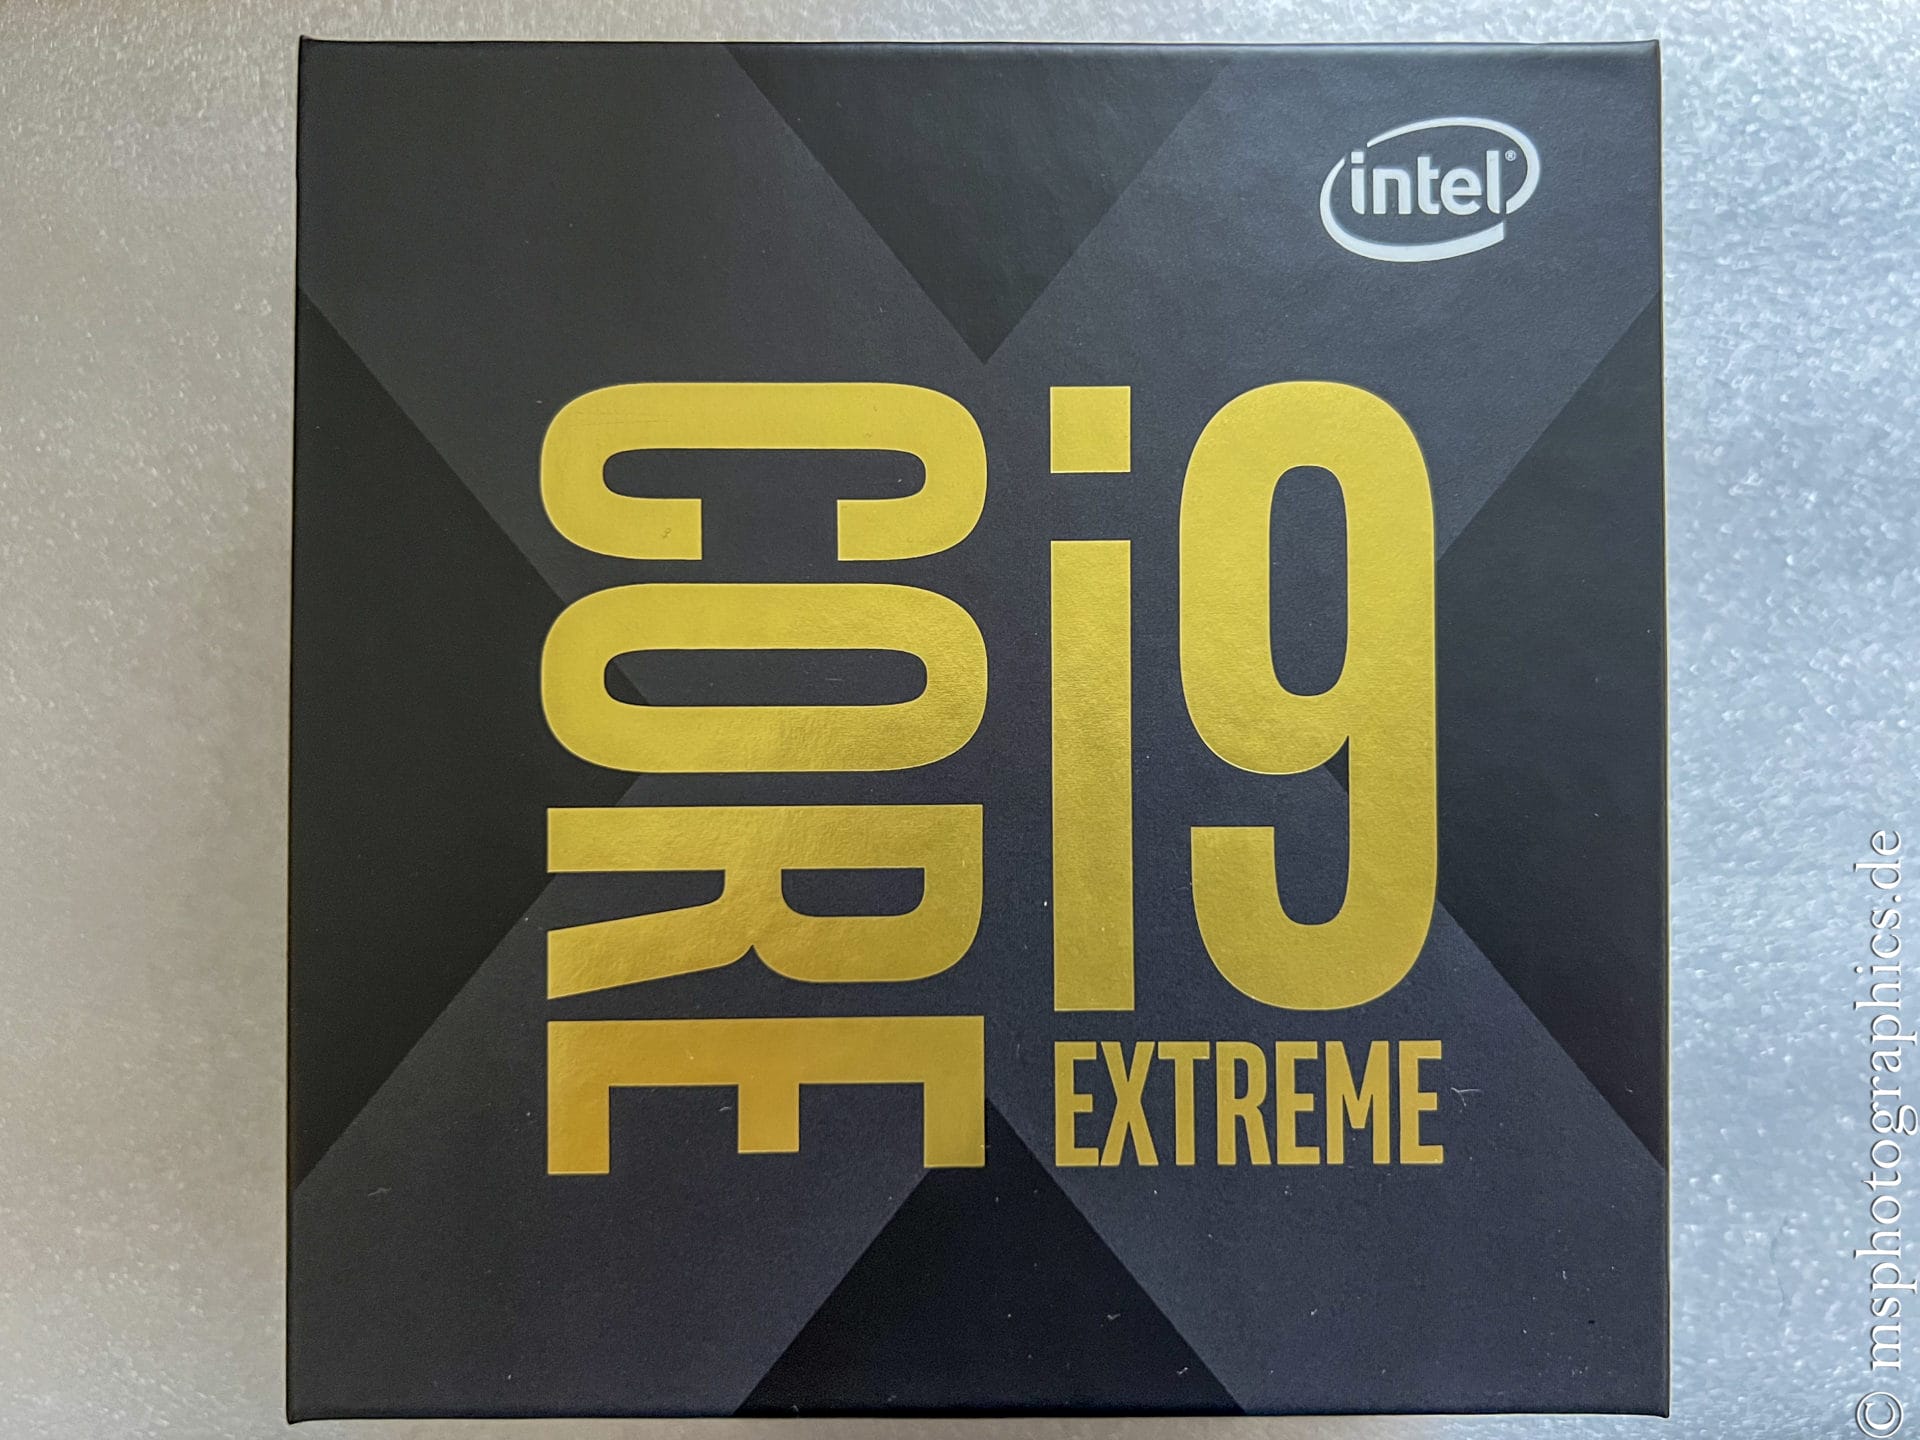
An Intel i9-10980XE processor was used as the CPU. Due to its available 18 processor cores, this promises excellent properties, even with demanding photo and video editing.
In order for this processor to be compatible with the mainboard, the BIOS must have been flashed to the latest version. If this is not the case, the CPU is not recognized.
Since a BIOS update can only be carried out with a compatible CPU, the factory-installed BIOS version should be checked when purchasing.
The GPU:
For the GPU, the decision fell on a NVIDIA GTX4090. The new PCI-e 5.0 graphics card not only guarantees performance but also future security. In addition, videos with a resolution of up to 8k can be edited with it.
The graphics card was converted from air cooling to water cooling. Thus the thickness of the card could be reduced from three to two slots.
The RAM:
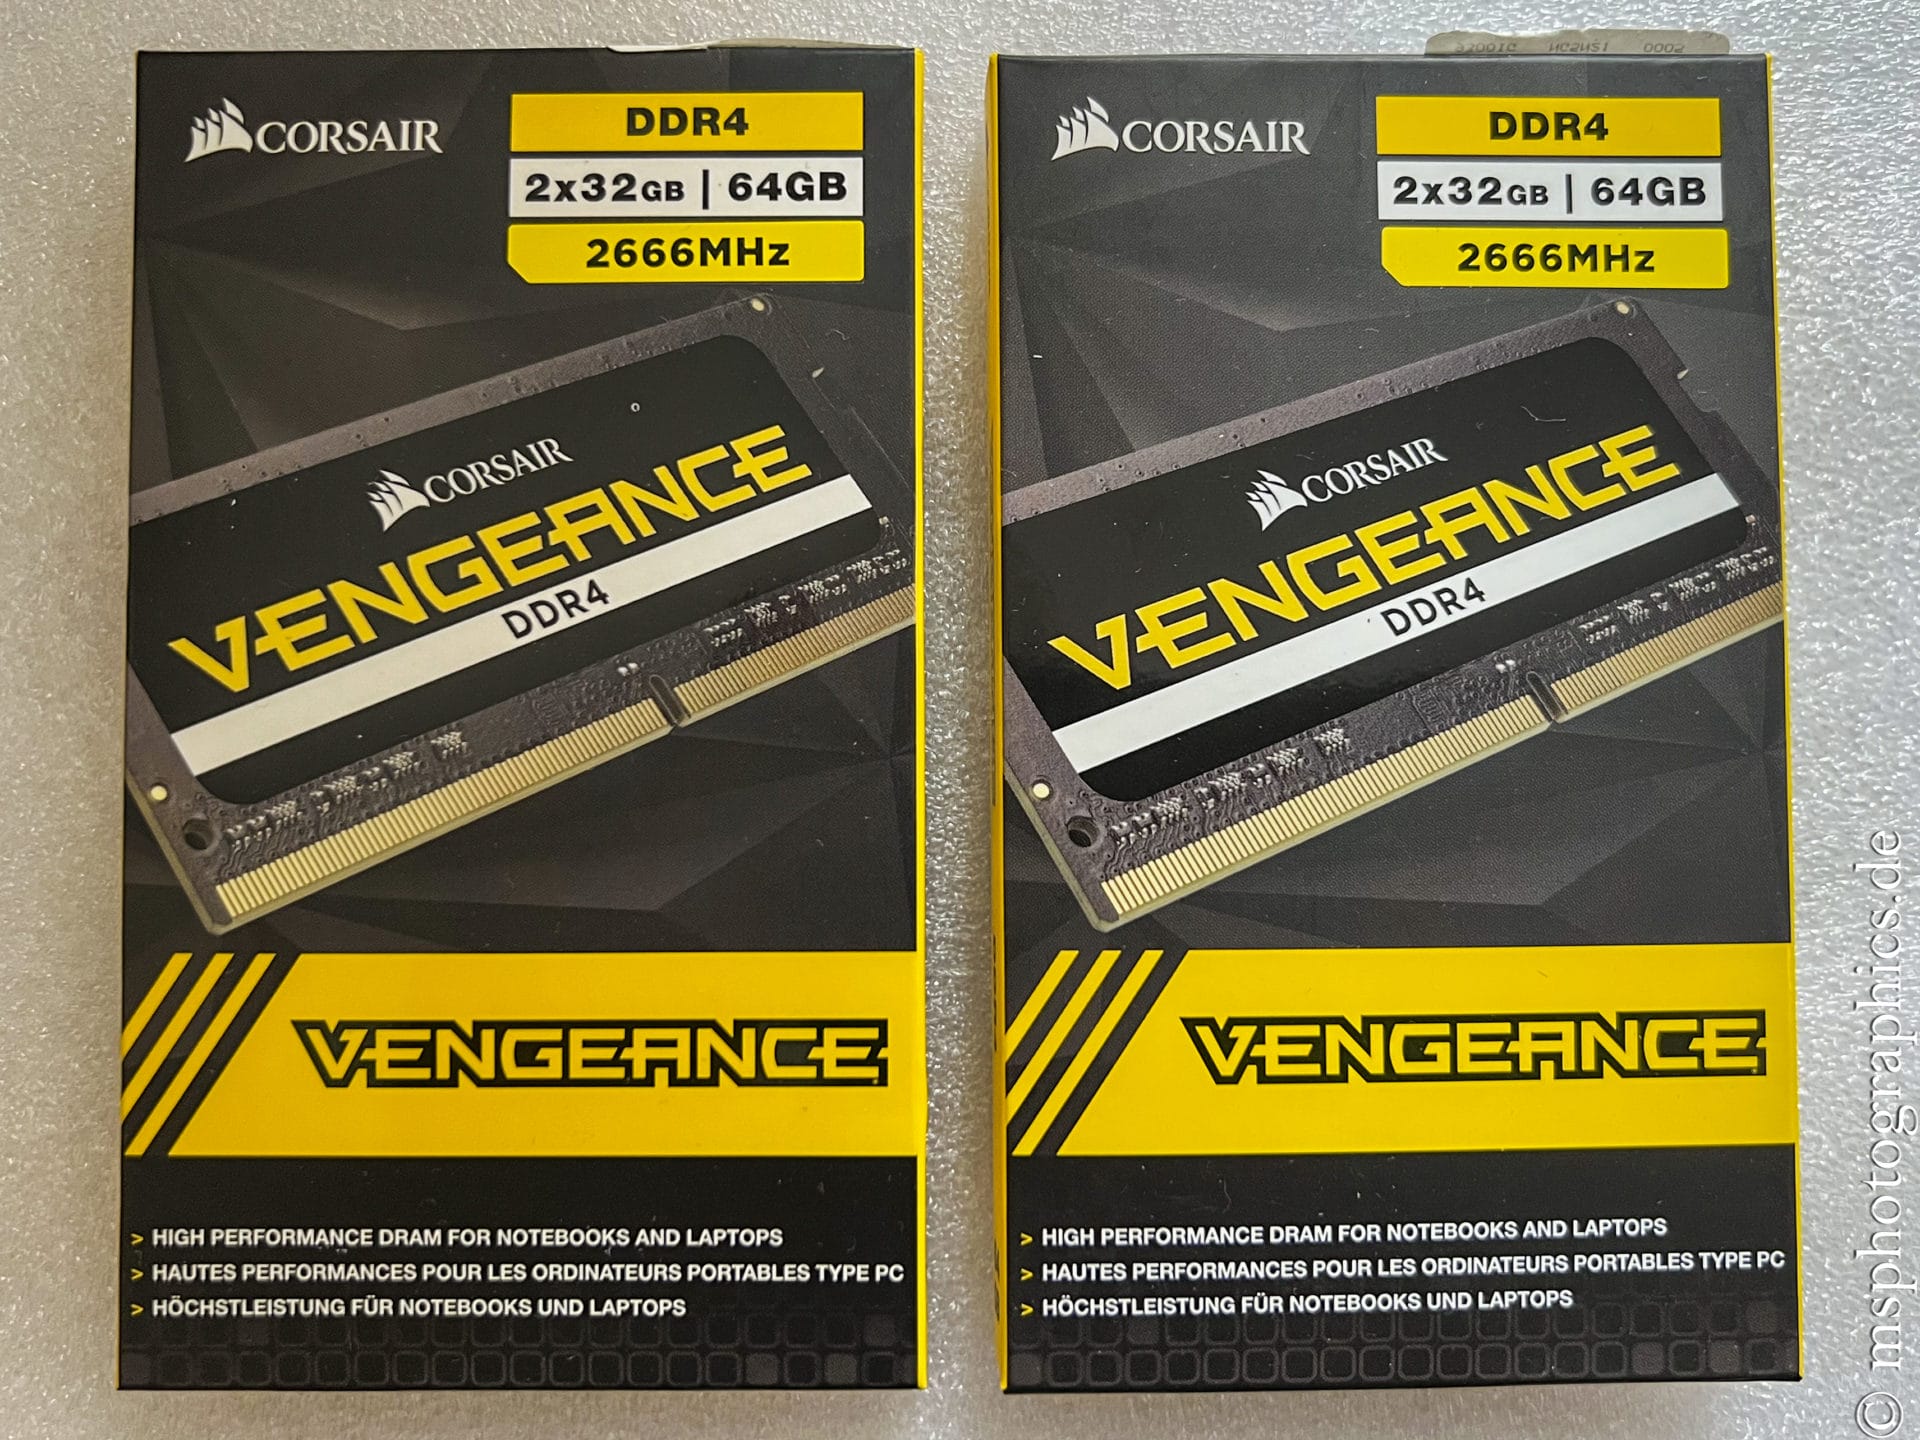
For the RAM, I decided to use Corsair VENGEANCE DDR4 SODIMMs with 32 GB.
With four available slots, the mainboard can be equipped with a maximum of 128 GB.
This is more than sufficient to be able to run all common applications without any problems and with enough reserves.
The components of the water cooling and ventilation:
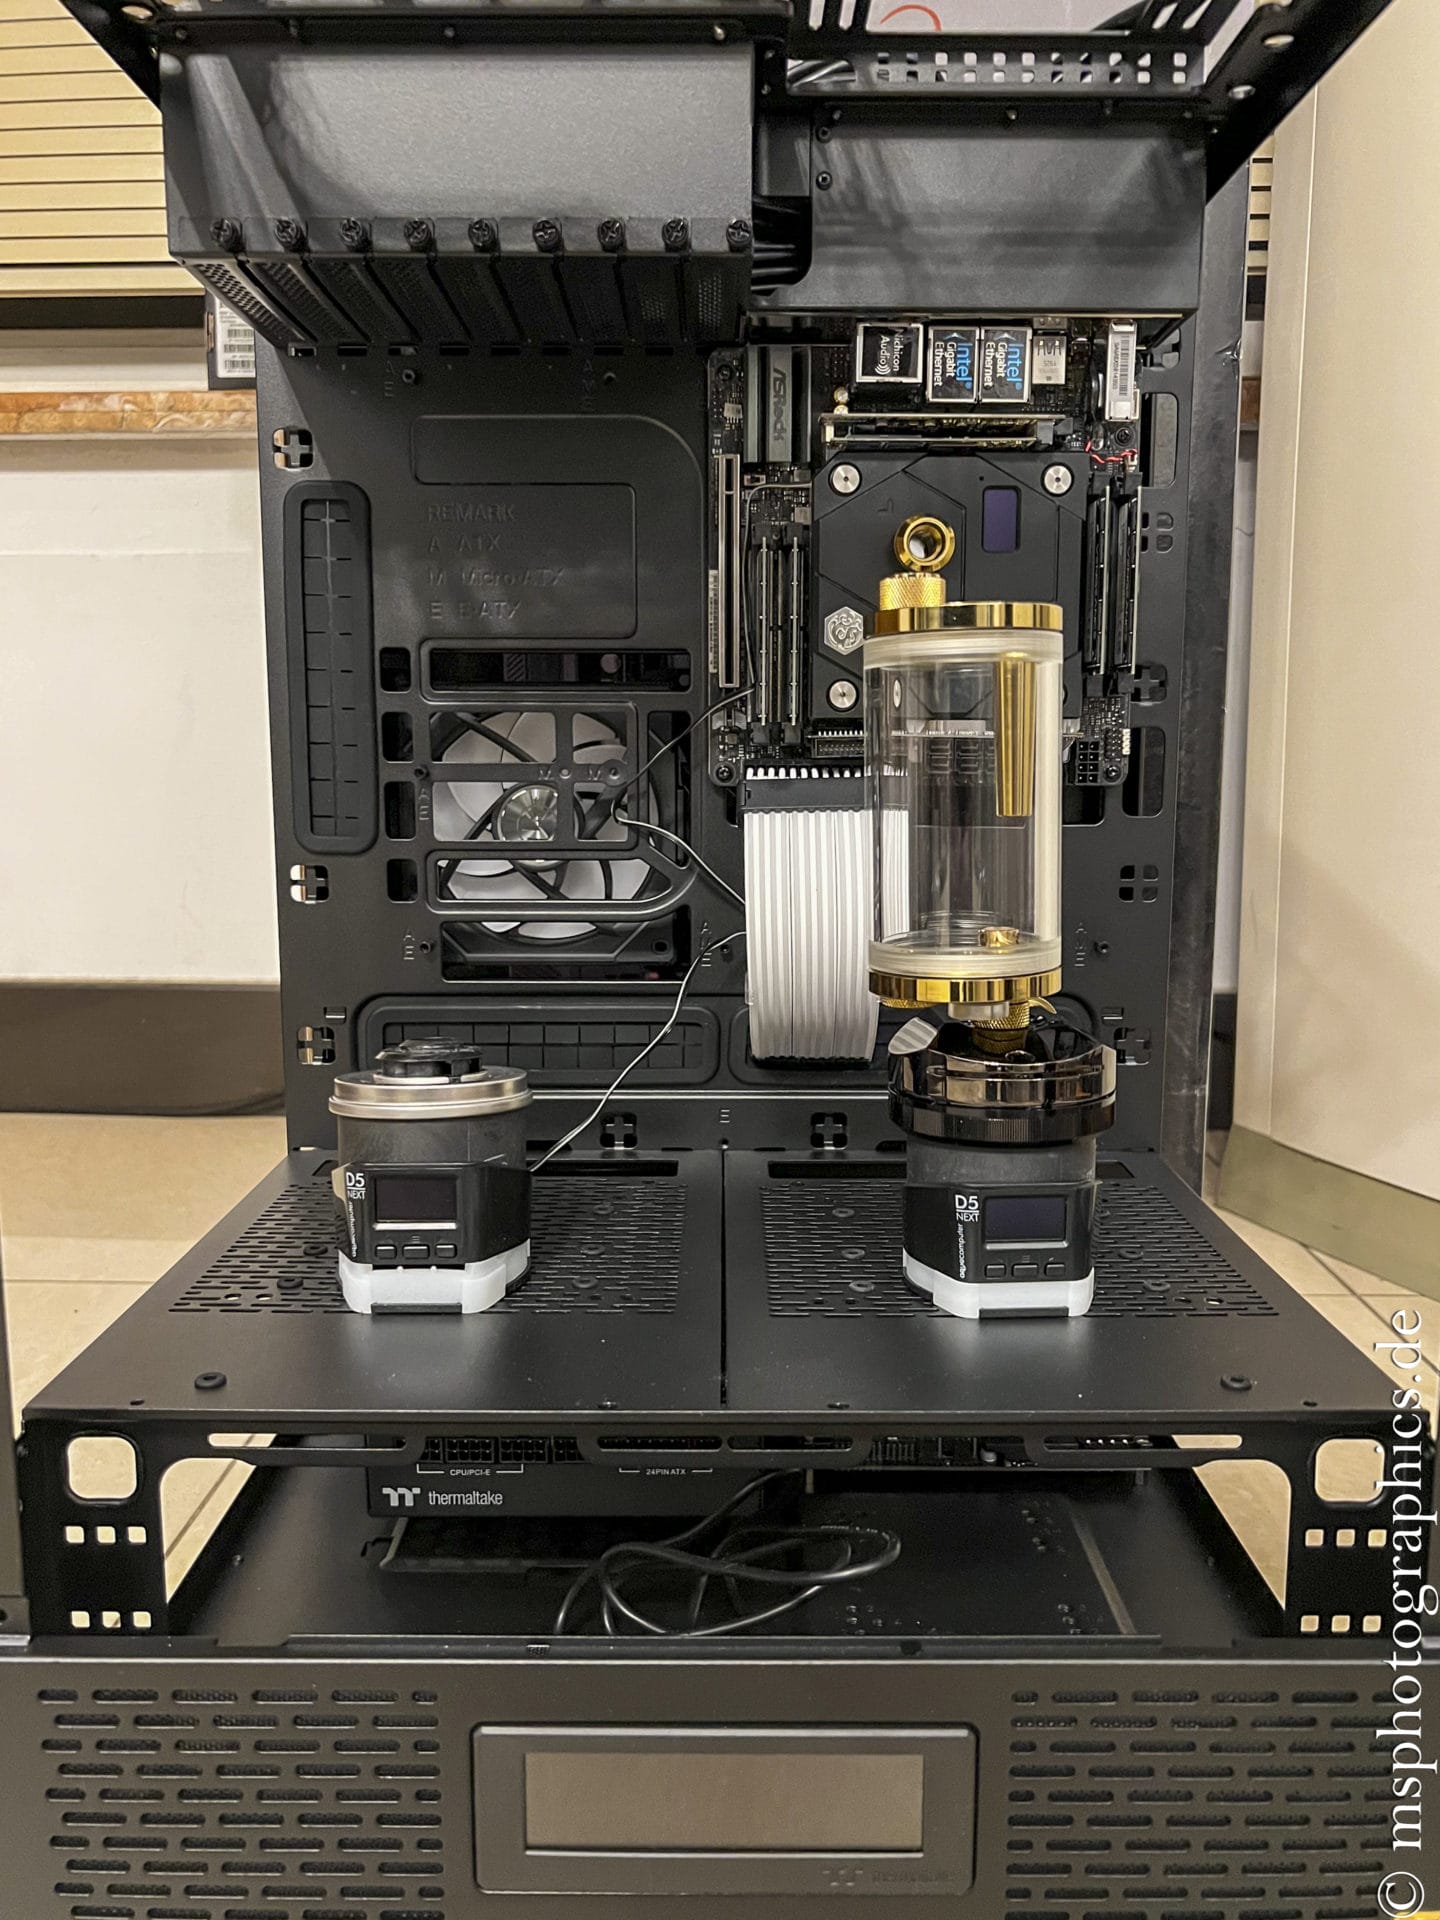
Bei den Pumpen habe ich auf die „D5 NEXT“ von Aquacomputer company.
These can be programmed via software and ensure reliable cooling.
Zudem wurde die Steuerung „aquaero 6 LT USB Fan-Controller“ verwendet.
Um ausreichend systeminterne USB-Anschlüsse verfügbar zu haben, lieferte Aquacomputer mit dem „Hubby7“ die passende Lösung.
The heatsinks for the CPU and GPU as well as the Reservoirs, Fittings and Radiators were purchased from the Bitspower company.
Bei den Röhren wurden Corsair „Hydro X Tubes“ in Satinschwarz verarbeitet. Die acrylic tubes were bent accordingly, adjusted in length and deburred.
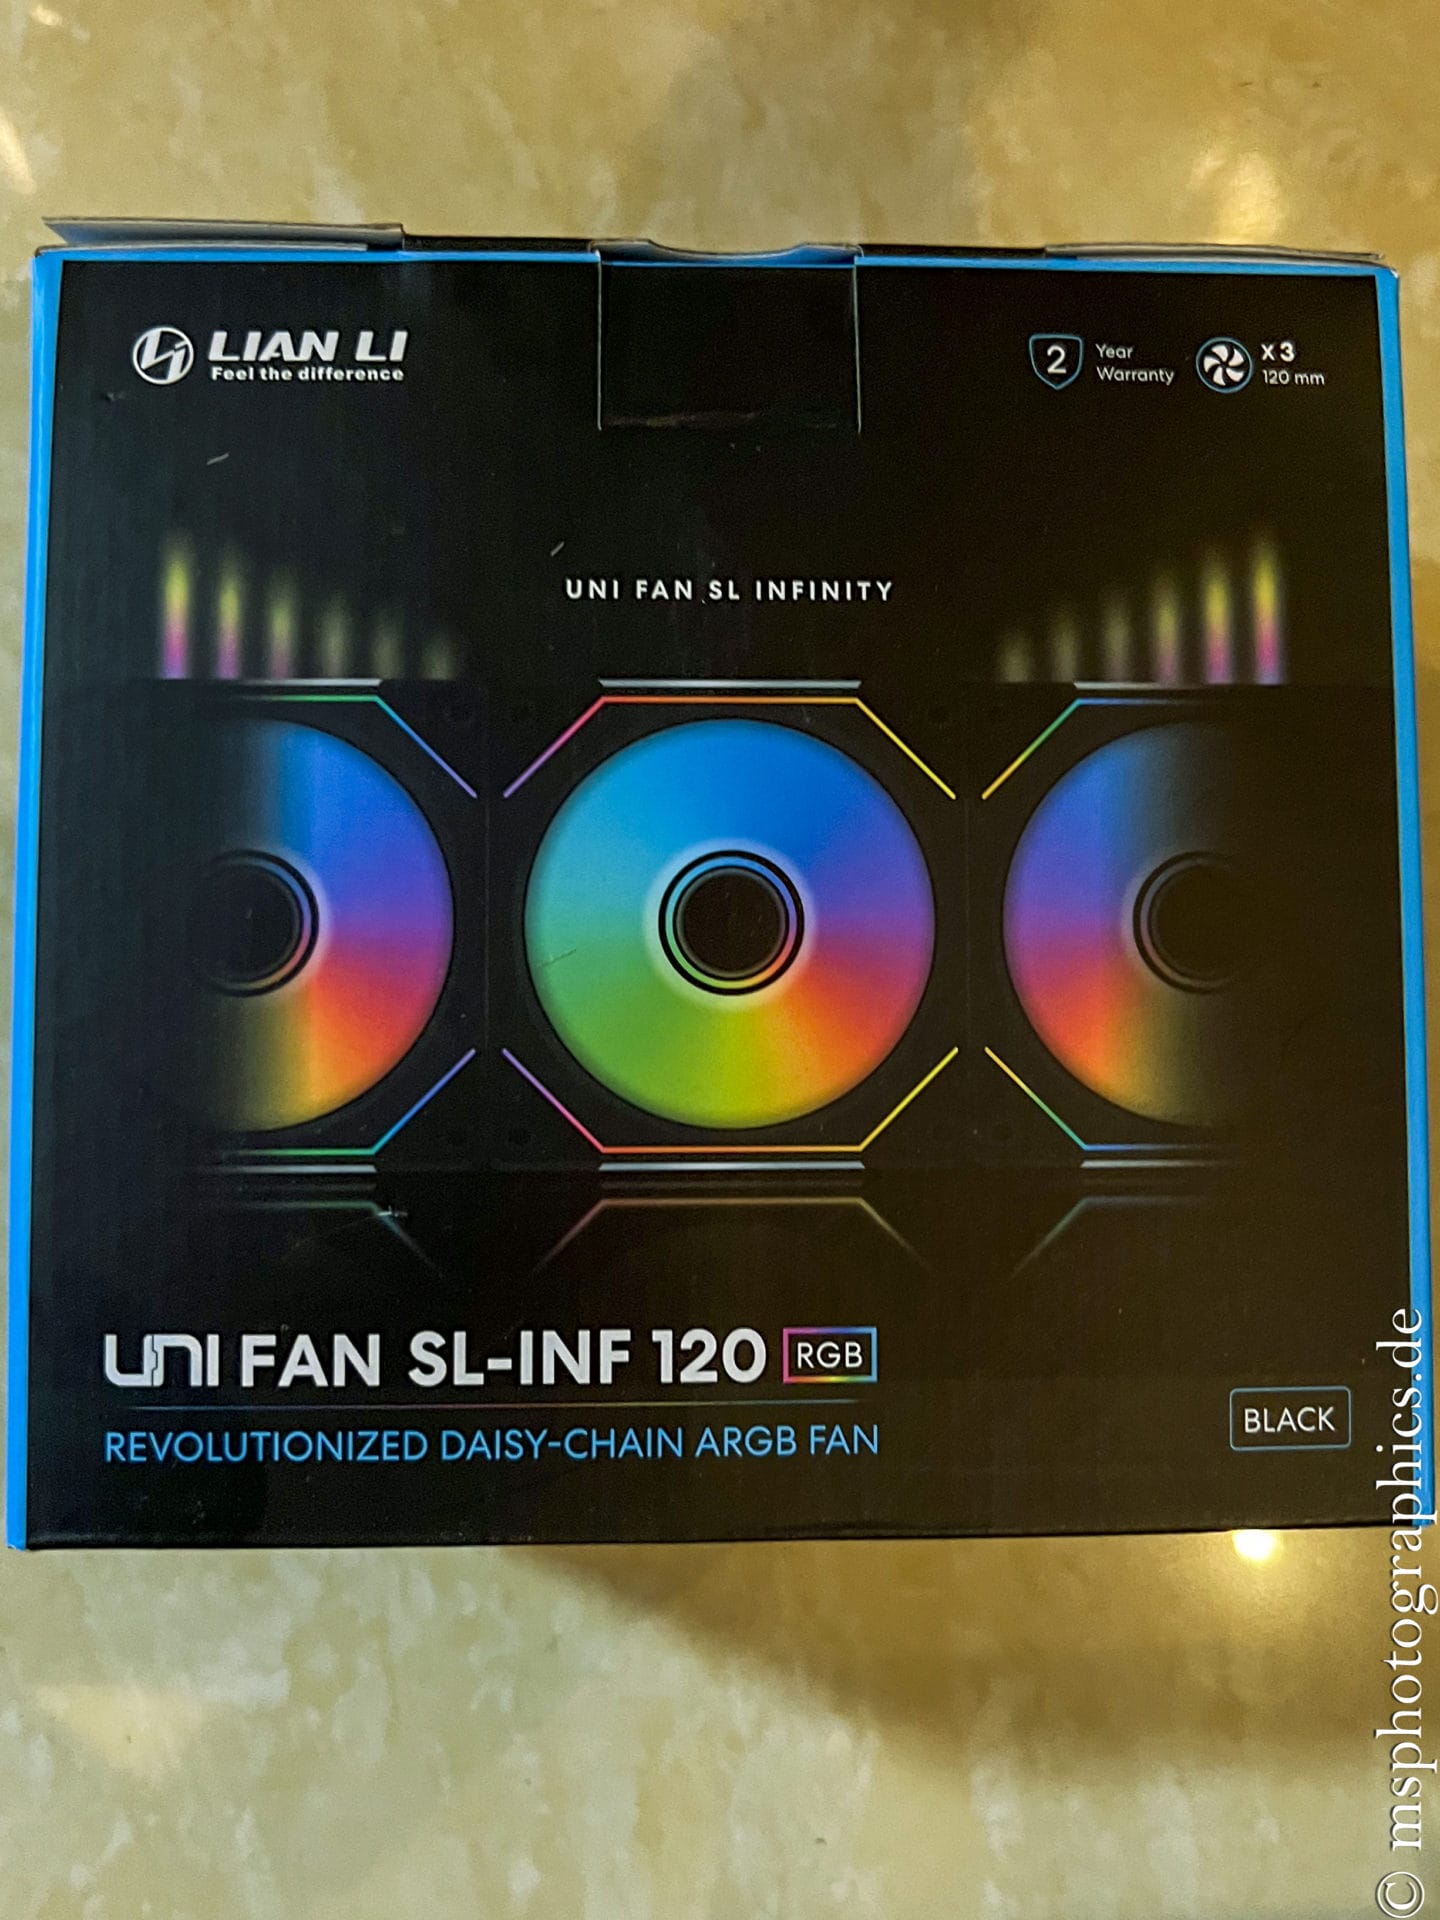
As well from Lian-Li, the Streamer Plus V2 to power the mainboard and the GPU were also built into the computer.
The analog hardware monitor:
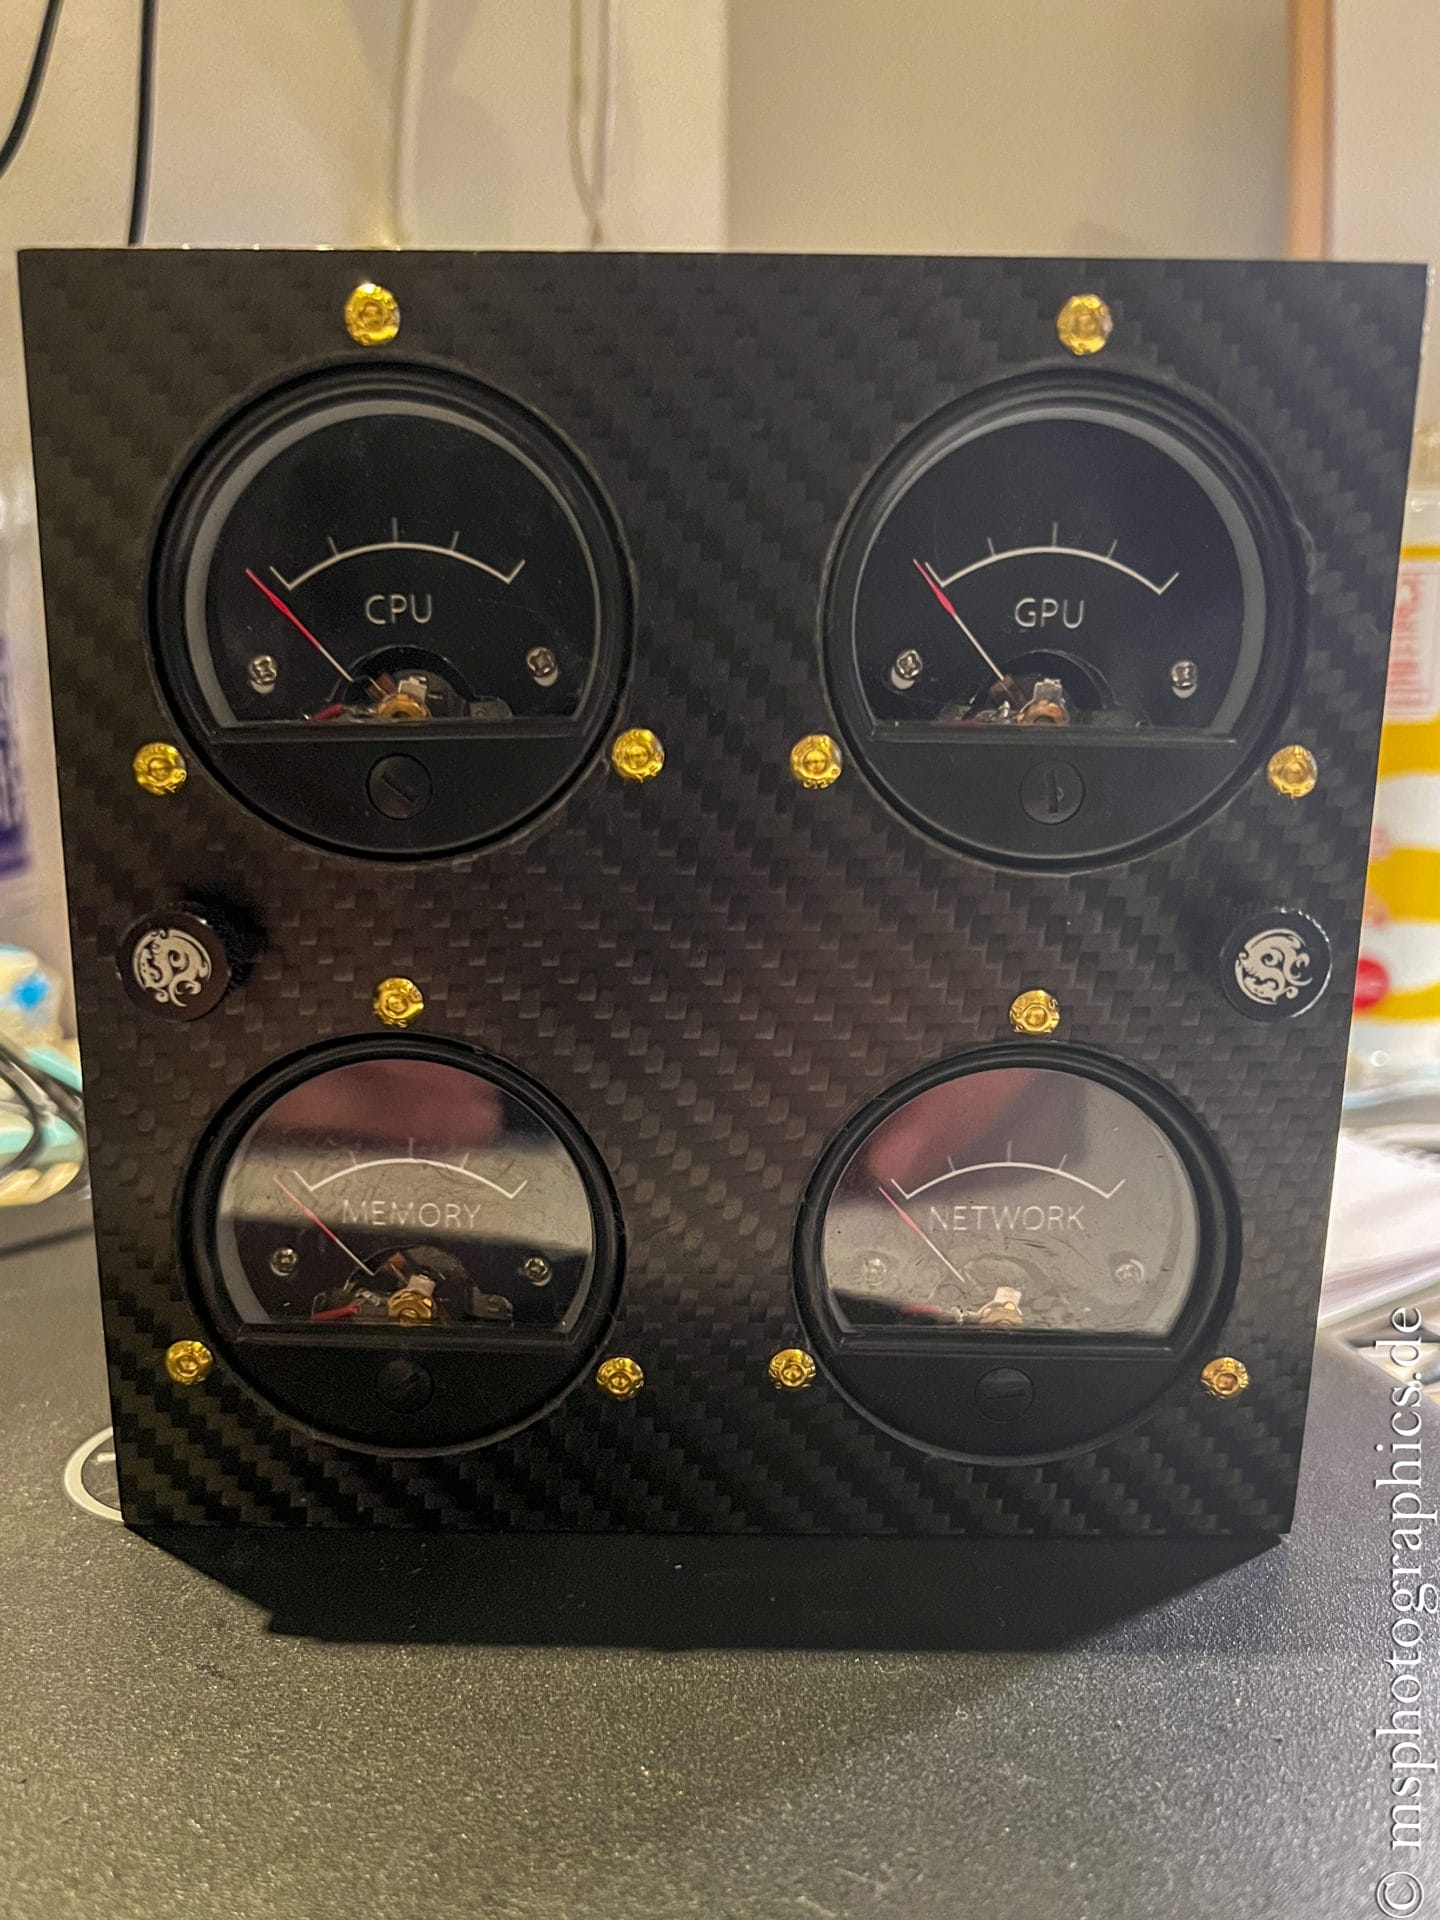
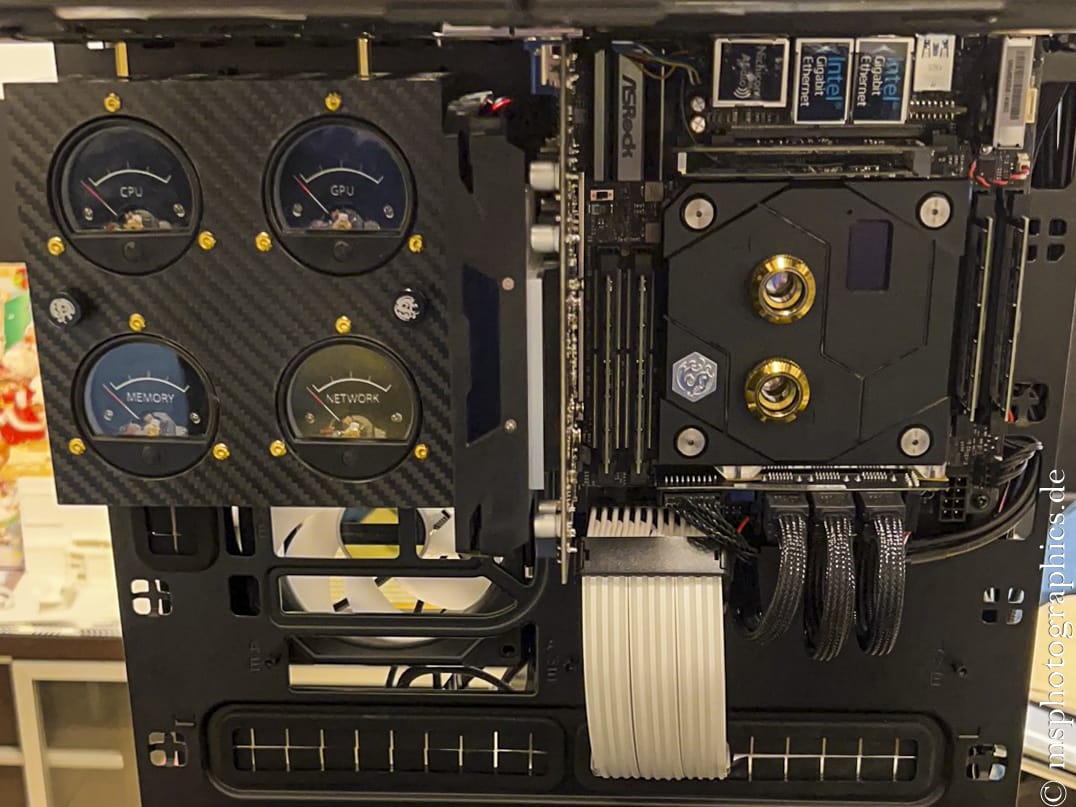
Instead of the STM32 controller I decided to use an Arduino Nano. In general, the project works with a wide variety of microcontrollers.
The enclosure for the installation of the displays was made of carbon plates, into which the required holes for the displays were drilled.
Assembling the computer:
Due to the size of the mainboard in the ITX form factor, there was enough space for all components. Installing the hardware was unproblematic and went quickly.
Manufacturing the sleeved cables required more patience and skill. It took a bit of practice to get the desired result.
Measuring and bending the required tubes was at least as demanding. Finding the right temperature for bending the tubes required concentration and sure instincts.
If the acrylic was too hot, bubbles would form, if it was still too cool, the arch would not get an exact shape.
In order to create a clean solution for draining the cooling water, I incorporated two drains in the bottom of the housing. If necessary, the water can be drained off via a ball valve.
The filling is done via the reservoirs.
Before putting a water-cooled computer into operation, a leak test should be done. To do this, you can pressurize the circuit that has not yet been filled and identify any leaks.
It is also advisable to test only the water cooling system before starting up the computer. Most power supplies support operation using jumper plugs. This allows the pumps to operate without the need for the rest of the hardware to be connected.
This allows you to check the water circuit and prevent collateral damage in the event of a leak.
The first start-up:
After extensive tests and tight water circuits, it was time to put the computer into operation for the first time. The PC started without any problems and was easy to install and set up.
Both the temperature of the graphics card and that of the CPU were absolutely satisfactory at almost 30°C.
Conclusion:
Assembling a computer by yourself is always a certain challenge. This project was also something special for me.
I took my time and calmly worked my way from the draft to the finished result.
I was able to learn a lot both technically and manually. In addition, it was fun to realize the project and make it work.




0 Comments